Introduction: Amazon Relational Database Service (RDS) has emerged as a game-changer in the world of cloud computing, providing a fully managed and scalable database service for various relational database engines. In this blog, we will delve into the key features, benefits, and use cases of Amazon RDS, exploring how it simplifies database management, enhances performance, and allows businesses to focus on their core operations.
Key Features of Amazon RDS:
1. Managed Service: Amazon RDS takes the hassle out of database administration by automating routine tasks such as backups, software patching, and monitoring. This allows developers to concentrate on building applications rather than managing database infrastructure.
2. Multiple Database Engine Support: RDS supports popular database engines like MySQL, PostgreSQL, MariaDB, Oracle, and Microsoft SQL Server. This flexibility enables users to choose the engine that best suits their application requirements.
3. Scalability: With Amazon RDS, scaling your database is a breeze. You can easily adjust compute and storage resources based on your application's changing needs, ensuring optimal performance at all times.
4. Automated Backups and Point-in-Time Recovery: RDS automatically takes regular backups of your database, and you can restore to any specific point in time within your retention period. This feature provides a safety net against accidental data loss or corruption.
5. High Availability: RDS offers Multi-AZ deployments that provide high availability and fault tolerance for database instances. In the event of a failure, RDS automatically switches to a standby replica, minimizing downtime.
Benefits of Amazon RDS:
1. Cost-Efficiency: Pay only for the resources you consume, and avoid the upfront costs associated with traditional database management. RDS's pay-as-you-go model ensures cost optimization for businesses of all sizes.
2. Security: Amazon RDS enhances database security with features like encryption at rest and in transit, automated software patching, and IAM database authentication. This ensures that your data is protected against unauthorized access.
3. Ease of Management: The user-friendly console of Amazon RDS simplifies database management tasks, making it accessible even for those without extensive database administration experience.
4. Global Reach: RDS enables you to deploy your database in multiple regions globally, ensuring low-latency access for users across the world. This is crucial for applications with a widespread user base.
Use Cases:
1. Web Applications: Amazon RDS is an ideal choice for web applications that require a reliable, scalable, and managed database backend. Its ease of use allows developers to focus on building feature-rich applications.
2. E-commerce Platforms: E-commerce businesses benefit from RDS's ability to handle varying workloads, ensuring seamless customer experiences during peak shopping seasons.
3. Enterprise Applications: Enterprises with complex data requirements find Amazon RDS valuable for its support of multiple database engines, ease of management, and high availability.
Conclusion: Amazon RDS empowers businesses to streamline database management, improve scalability, and enhance overall performance. With its managed services, security features, and support for various database engines, RDS is a versatile solution for organizations looking to harness the full potential of their relational databases in the cloud. Whether you're a startup or an enterprise, integrating Amazon RDS into your architecture can be a pivotal step toward achieving efficiency and scalability in your database operations.
Unveiling the Power of Amazon RDS: A Comprehensive Guide
Chinese Brand ‘RealMe’ sold over 15K smart watches in 2 minutes in India

RealMe Watch Availability, Features, Specifications
How to install and configure Cloudera Quickstart VM on windows
In this article, we take a look at the
installation of Cloudera QuickStarts VM.
Cloudera, one of the leading distributions of Hadoop, provides an
easy way to install Virtual Machine for the purposes of getting started quickly
on their platform.
Cloudera provides some big data libraries
such as Hadoop, Hive, Hue, HBase, Oozie, Spark.
Prerequisite: For Cloudera Quickstart to run on the system, At least 12GB+ RAM (i.e. 4GB+ for operating system & 8GB+ for Cloudera), although 16 GB+ is preferred. Cloudera runs on CentOS, which is the community edition of the Linux. Windows system must support 64-bit.
Install VirtualBox
Step 1: Click the following link and download the correct version for your operating system.
https://www.virtualbox.org/wiki/Downloads

Step 2: Install “VirtualBox-6.1.8-137981-Win.exe”.
Double-click the setup file that you downloaded in the previous step and follow the prompts to install. Note: During the installation, keep all of
the options set to default
If you want to change the default folder where the Virtual machines are
installed, open the Oracle VM VirtualBox and follow the steps: Go to
File -> Preferences -> General -> Default Machine Folder ->
Folder of your choice
Install Cloudera for VirtualBox
** It requires 64-bit host OS
Step 3: Go to:
https://www.cloudera.com/downloads.html
Select the “Cloudera QuickStarts” click on “Download Now”.
Note: The Cloudera Quick start VM has been discontinued as It was based
on CDH 5.13 which is going end of support in the Fall of this year.
You can also try out with HDP, click the link below,
https://www.cloudera.com/downloads/hortonworks-sandbox/hdp.html
Configure VirtualBox & Cloudera
Step 5: Open the VirtualBox, and create a new VM.

Give it a Name of your choice. Select Linux as Type and Red Hat (64 bit)
as Version. Click Next.
Step 6: Configure the RAM for VirtualBox.
Give it at least 8GB of RAM and click Next button. If you have more amount of RAM, you can assign more than 8GB. The more, the faster. Note: The Host OS requires at least 4 GB for the normal functioning. So, be careful not to assign all the RAM to the Virtual Machine.

Step 7: Add the Cloudera “cloudera-quickstart-vm-5.8.0-0-virtualbox-disk1.vmdk” that was previously downloaded and extracted.

You have successfully installed Cloudera QuickStart VM.
Step 8: Click on “Settings”, and give more CPU cores if you have and enable “bidirectional” drag/drop feature.
Changing some of the settings for better performance and ease of use
:

PowerOn the VM “Cloudera-5.12” that you had just added by double
clicking on it, and it will take some time to launch.

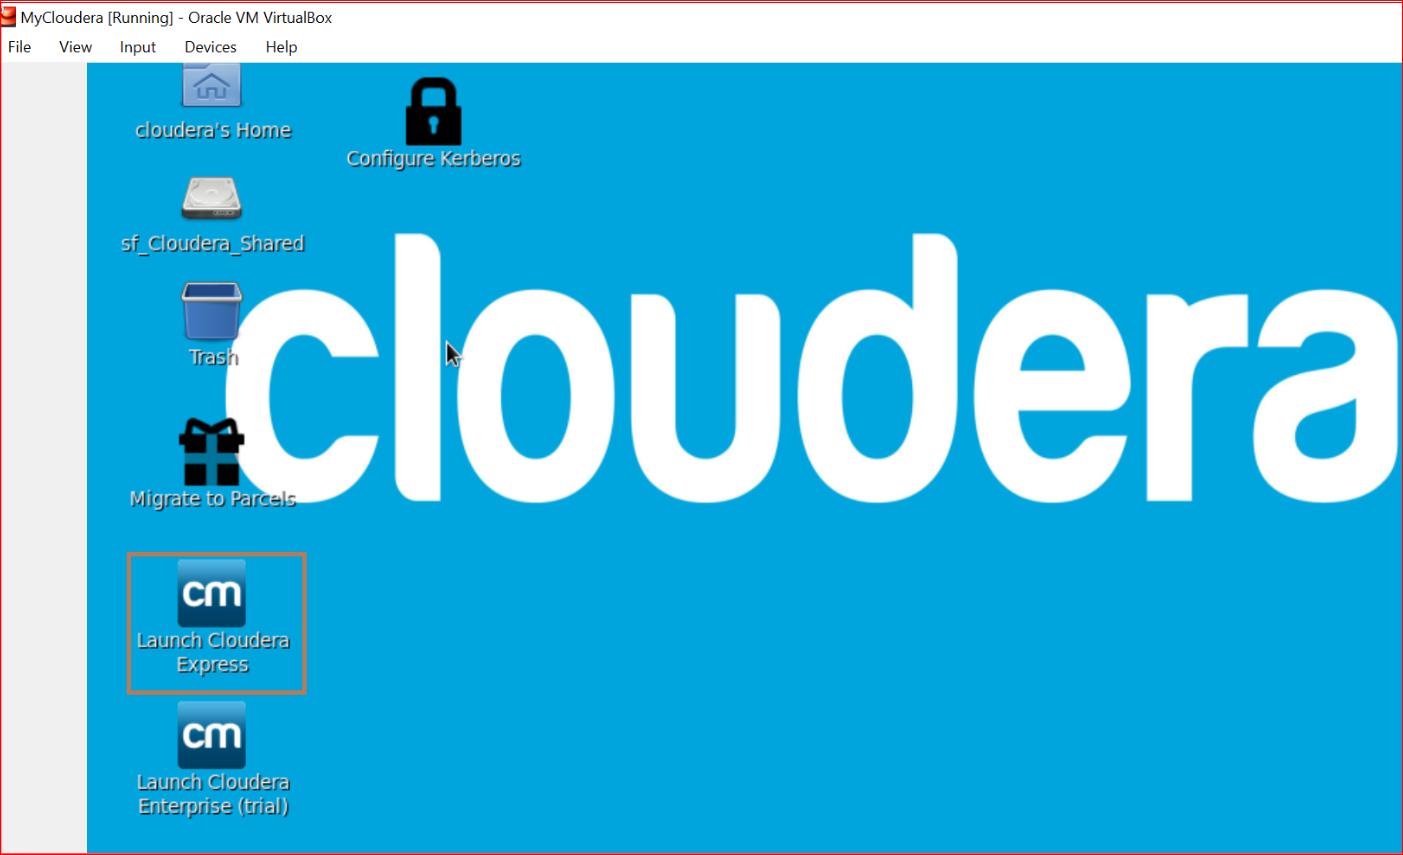
Step 9: Minimize the browser and Launch Cloudera Express on the Desktop. This requires at least 8 GB of RAM and at least 2 virtual CPUs.
Step 10: It will take some time to start and once started, you can login to “Cloudera Manager” via the browser with http://quickstart.cloudera:7180/cmf/login
username: cloudera
password: cloudera
Step 11: Make sure that the relevant services are started, and if not
start them.

When you “power off” or close the VM, select the “save the machine
state” so that it starts quickly next time.
Apache Kafka for Beginner– What is Apache Kafka?

The first part of Apache Kafka explains what Kafka is – a publish-subscribe based durable messaging system rethought as a distributed commit log exchanging data between systems, applications, and servers.
I’m going to cover a brief understanding of the messaging system
and distributed logs, Kafka ecosystem, Kafka architecture, and its important core
concepts.
Before this, let’s go back in the year 2011 to know a brief
history of Kafka, LinkedIn’s Messaging Platform.
A Brief History of Kafka
Apache Kafka is a highly scalable messaging system that
plays a critical role in LinkedIn’s central data pipeline. But it was not
always this way.
Over the years, they have to undergo to make hard architecture
decision, and when the company started growing and scaling. The challenge was to accommodate
LinkedIn growing membership and increasing site complexity.
Initially, they had already migrated from a monolithic
application infrastructure to microservices. This change allowed their search,
profile, communications, and other platforms to scale more efficiently.
They initially developed several different custom data
pipelines for their various streaming and queuing data. The use case ranged from
tracking site events like page views to gathering aggregated logs from other
services. Other pipelines provided queueing functionality for their InMail
messaging system, etc. These data pipelines needed to scale along with the site.
Rather than maintaining and scaling each pipeline individually, they thought of the development of a single, distributed publisher-subscriber messaging platform. Thus they end up creating Kafka.
Kafka was built with a few key design principles in mind: a
simple API for both producers and consumers, designed for high throughput, and
a scaled-out architecture from the beginning
As early as 2011, LinkedIn open-sourced Kafka via the Apache Software Foundation, providing the world with a powerful open-source solution for managing streams of information.
Today, Apache Kafka is part of the Confluent Stream Platform and handles trillions of events every day.
Overview of Kafka
Apache Kafka is a publish-subscribe distributed streaming
platform. Kafka is run as a cluster on one or more servers that can span
multiple data centers.
Kafka stores messages in topics that are partitioned and
replicated across multiple brokers in a cluster. Producers send messages to
topics from which consumers read.
Messages are byte arrays (with String, JSON, and Avro being
the most common formats). If a message has a key, Kafka makes sure that all
messages of the same key are in the same partition.
Language Agnostic — producers and consumers use a binary protocol (TCP Protocol) to talk to a Kafka cluster.
These are four main parts in a Kafka system:
Broker: A broker is a server that handles all requests from
clients (produce, consume, and metadata) and keeps data replicated within the
cluster. There can be one or more brokers in a cluster.
Zookeeper: Keeps the state of the cluster (brokers, topics,
users).
Producer: An application that sends messages to a broker.
Consumer: An application that reads data from Kafka.
There are four core APIs of Kafka.
- The Producer API allows an application to publish a stream of records to one or more Kafka topics.
- The Consumer API allows an application to subscribe to one or more topics and process the stream of records produced to them and later may send them to Hadoop, Casandra, or HBase or may be again pushing back to Kafka for someone else to read these modified and transformed messages.
- The Streams API allows an application to act as a stream processor, consuming an input stream from one or more topics and producing an output stream to one or more output topics, effectively transforming the input streams to output streams.
- The Connector API. These are very powerful features. These are ready to use connectors to import data from databases to Kafka and export data from Kafka to databases. These are also a framework to build specialized connectors for any application. For example, a connector to a relational database might capture every change to a table.
- The Admin API allows managing and inspecting topics, brokers, and other Kafka objects.